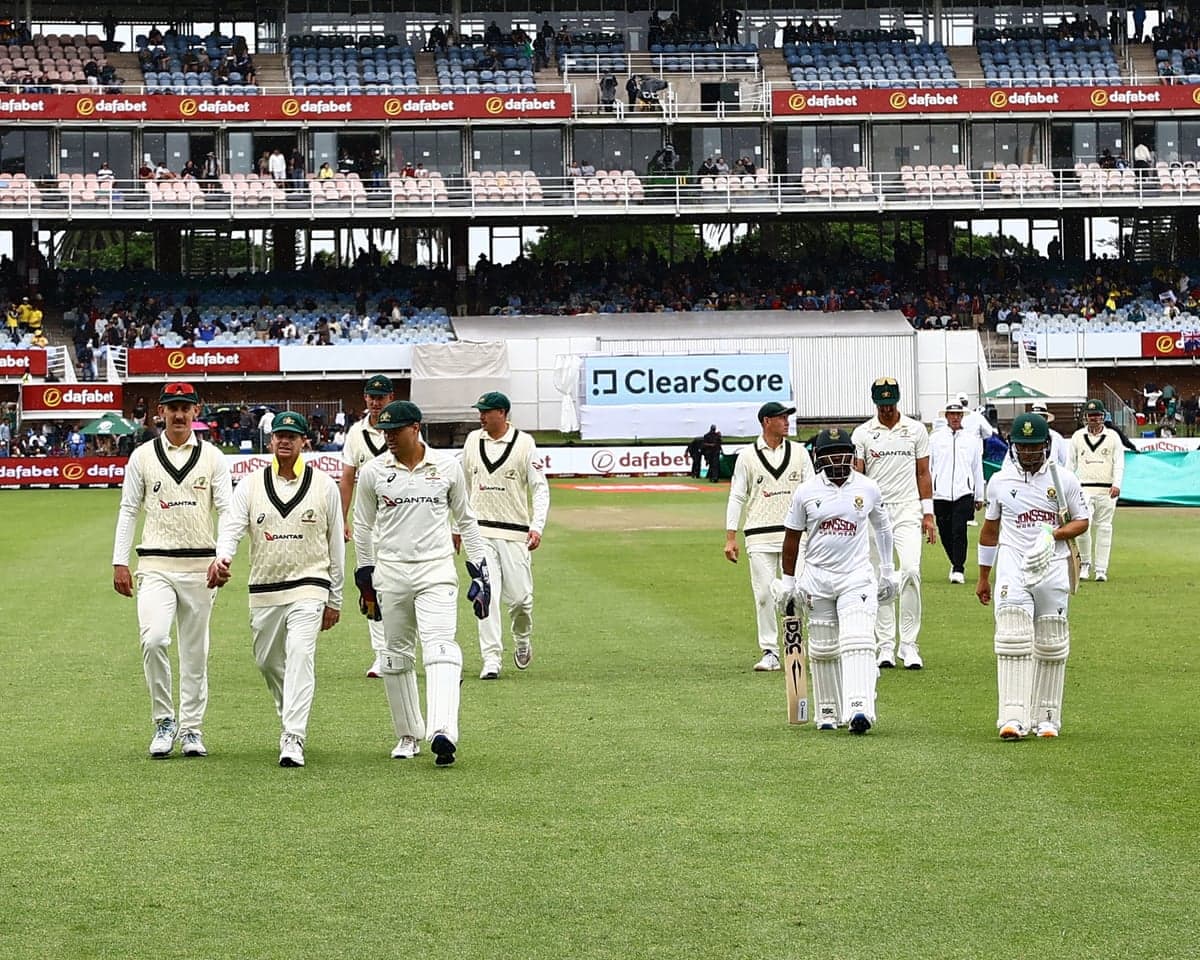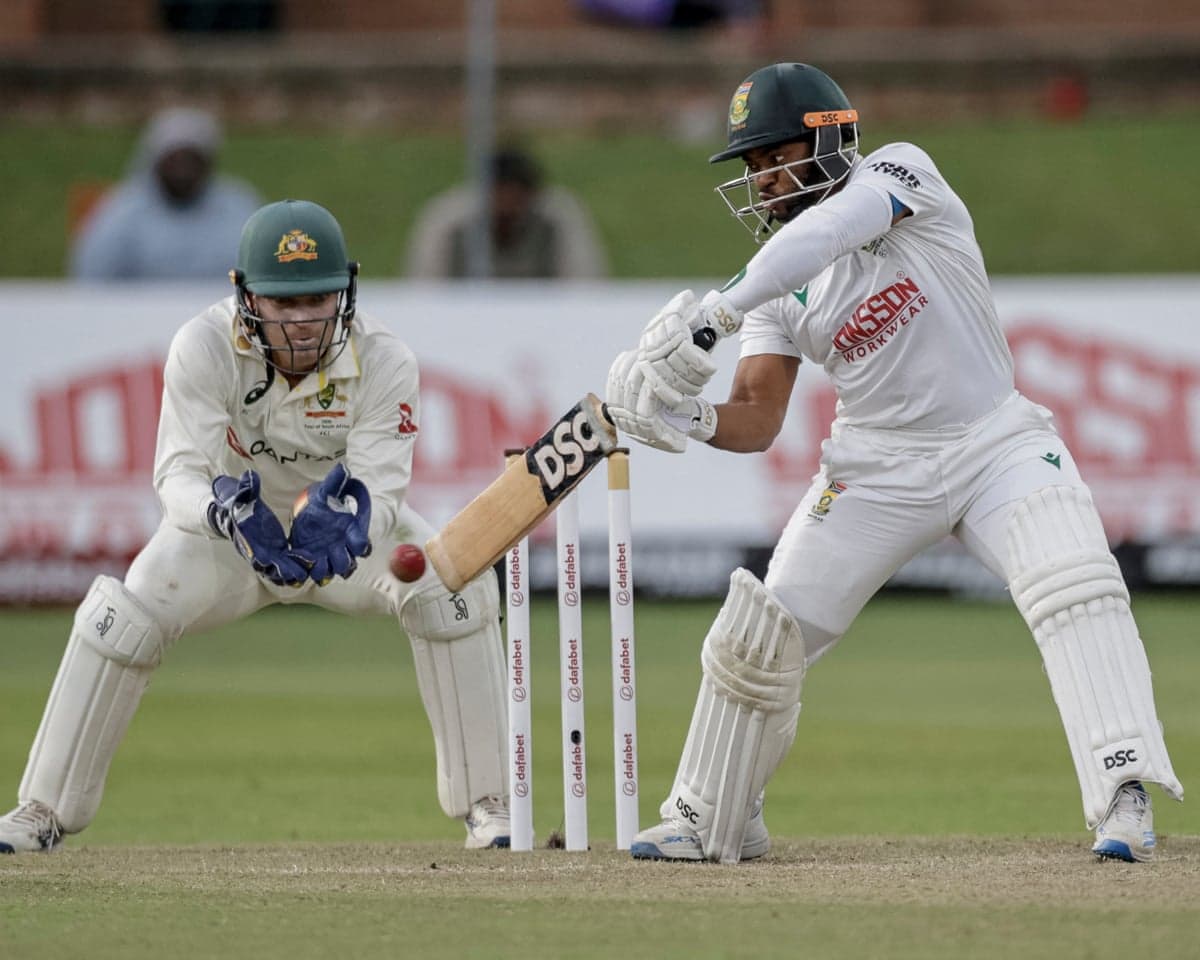
Temba Bavuma's commanding 179, built across two difficult days in overcast conditions, has swung the second Test decisively in South Africa's favour. The home captain combined with Marco Jansen's aggressive 85 and Simon Harmer's 82 to guide the Proteas to a declaration at 425 for 9, leaving Australia reeling at 3 for 1 in their reply on day three at St George's Park in Gqeberha. According to The Guardian, the innings has placed the hosts in a position from which they cannot lose the match.
The turnaround mirrors the first Test at Kingsmead, where Matthew Renshaw's unbeaten 190 rescued Australia from 124 for six and shifted momentum decisively. This time, South Africa's lower order provided the rescue, with Bavuma orchestrating the recovery after the hosts slipped to 40 for 4. Australia, who won the opening Test by 214 runs to lead the three-match series 1–0, now face a critical batting performance to avoid falling behind.
How did Bavuma build such a dominant innings?
Bavuma entered at 12 for 2 and watched the collapse deepen to 40 for 4 before steadying the ship. He began day three with 41 to his name and batted with exceptional discipline across the damp, abbreviated conditions. His approach was marked by monastic restraint when facing width outside off stump, but he struck with precision when aggression was warranted—on drives and square punches executed against the right deliveries. According to Fox Sports Australia, Bavuma's 179 came from 280 balls and included 16 fours and one six, marking his fifth Test century and fourth as captain.
Australia's quicks found less assistance from an older ball, though Scott Boland remained suffocatingly accurate. Pat Cummins and Mitchell Starc delivered vicious bouncers that threatened both stumps and the batter's safety. Bavuma's breakthrough came when he reached 99 with nervy running, then struck a rasping pull for four off Cummins—a moment of symbolic control that announced his takeover of the contest. Between 100 and 150, he added only five boundaries, all struck along the ground rather than through the air, demonstrating complete command.
Australia were hampered when Josh Hazlewood was banned from bowling during the first session after being off the field ill the previous day. Bavuma benefited from Jansen's aggressive batting, which freed him to accumulate without constant pressure. When Hazlewood did return to the field, his edge to Bavuma on 122 was dropped by Steve Smith, who appeared concerned about his finger afterward.
What was the significance of Bavuma's innings for his captaincy?
Eight years earlier, during Australia's previous tour, Bavuma had reached his 29th Test with only one century to his name. He had nearly rescued South Africa at Johannesburg in the aftermath of the sandpaper scandal, only to see the last two wickets fall in two balls. That near-miss haunted him for five more years as he accumulated 54 Tests and 20 half-centuries without a second ton, making him an unlikely captain-in-waiting.
Everything changed when he assumed the captaincy. Despite beginning with a pair, Bavuma has now added four centuries in 14 Tests, averaging 54 across that span. Until the first Test in Durban, he had never led a loss—a record that included the World Test Championship final, where he made another fifty to help beat Australia. This 179 represents his largest score and his best performance, delivered against South Africa's fiercest historical rival at a moment when his team needed it most.
How did Jansen and Harmer contribute to South Africa's total?
Marco Jansen provided the spark that freed Bavuma from constant pressure. His approach combined aggression with occasional fortune: slices through the cordon, sixes over fielders' heads, and edges that evaded leg stump. When his shots connected cleanly, they rocketed to the fence. He reached 50 from 43 balls, then slowed to bat past lunch and build a partnership with Bavuma worth 132 runs. The stand ended when Boland took the new ball and struck Jansen in the box with such force that a lengthy break was required. Two deliveries later, his focus shattered, Jansen flicked aerially to midwicket for his dismissal.
Simon Harmer rode shotgun with a couple of first-class hundreds to his name and a sun-baked pitch to exploit. After reaching fifty, he opened out aggressively. The dam broke as part-timers were introduced into the attack. South Africa surpassed the 390 that Renshaw had assembled in the first Test, then passed 400. Harmer and Bavuma's partnership reached 183 before Harmer missed a slog against Marnus Labuschagne and was bowled for 82. Bavuma followed next ball, nicking Starc, and declared as he left the field.
What happened in Australia's reply?
Nic Maddinson, whose controversial selection at opener had already backfired with a duck in Durban, made another first-innings duck as he edged Kagiso Rabada to slip. The opening pair's struggles have become a recurring theme in this tour. Boland was pressed into nightwatch service after leading with the ball, but bad light restricted play to three overs of spin before stumps were called. According to ESPN, Australia were 355 for 7 in their reply during day three, with Steve Smith leaving the field after a finger injury concern, though the severity of the injury remained unclear.
Scott Boland's performance with the new ball was exceptional. According to Cricket News, Boland took 5 for 63, including the crucial wicket of Jansen, whose dismissal ended a 242-run seventh-wicket partnership with Bavuma. The replacement seamer had the figures to show for his efforts, though a specialist spinner might have provided additional support.
What is the significance of South Africa's position?
Remarkably, from 40 for 4, South Africa have reached a position from which they cannot lose this Test. Australia's batting performance on day four will determine whether they can say the same. The hosts have seized control after being outplayed in the first Test, and Bavuma's captaincy has been vindicated by his personal performance. The momentum has shifted decisively, and Australia now face the prospect of falling behind in the series.
What happens next?
The second Test is scheduled to run through 22 October at St George's Park in Gqeberha. Following this match, the third and final Test is scheduled for Newlands Cricket Ground in Cape Town. Australia's ability to bat out the remaining days will be crucial to their chances of salvaging the series.
Key Facts
- Temba Bavuma scored 179 from 280 balls with 16 fours and one six, his fifth Test century and fourth as captain
- South Africa declared at 425 for 9, with Marco Jansen contributing 85 and Simon Harmer 82
- Scott Boland took 5 for 63, including the dismissal of Jansen that ended a 242-run seventh-wicket partnership
- Australia lost Nic Maddinson for a duck in their reply and were 3 for 1 at close of play
- Australia lead the three-Test series 1–0 after winning the first Test in Durban by 214 runs